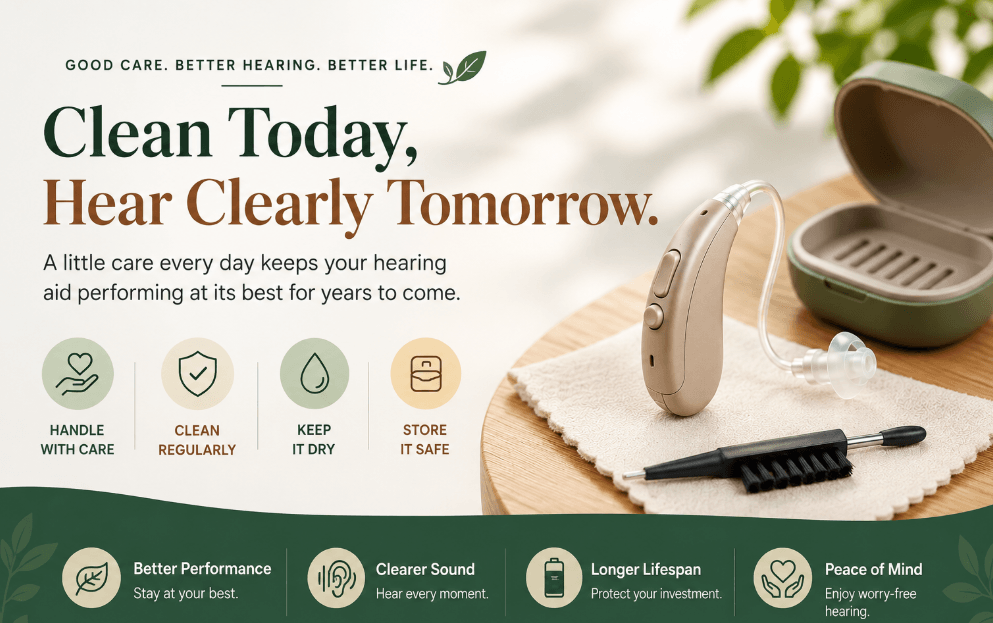
How to Clean and Maintain Your Hearing Aid for Long-Lasting Performance
Written by [kunshop team] · Reviewed by [Kunshop] · Last updated August 2026
If you’ve just started wearing a hearing aid, or you’ve had one for years and it’s started sounding a little “off,” there’s a good chance the fix has nothing to do with your hearing at all. It’s earwax. Or moisture. Or a wax filter nobody told you needed changing every few weeks.
Hearing aids are small, expensive, and honestly kind of miraculous — but they’re also delicate electronics that live inside one of the warmest, waxiest, most humid environments on the human body: your ear canal. Add Pakistan’s summer humidity into the mix, and you’ve got a recipe for muffled sound, corroded batteries, and repair bills that could’ve been avoided with five minutes of care a day.
This guide walks through exactly how to clean and maintain hearing aids at home — step by step, tool by tool — so your device keeps performing the way it did on day one.
A quick note before you start: This guide covers routine at-home maintenance only. It isn’t a substitute for your device’s manual or your audiologist’s specific instructions, and it doesn’t cover hearing loss diagnosis or treatment. Cleaning steps can vary slightly by brand and model, so if anything here conflicts with what came with your device, always follow the manufacturer’s instructions or ask your audiologist.
Why Hearing Aid Cleaning and Maintenance Actually Matters
Here’s the thing most people don’t realize until it’s too late: hearing aids don’t fail suddenly. They fade. Sound gets a bit muffled, then a bit more muffled, and eventually you’re cranking the volume and still missing half the conversation.
The usual culprit? Earwax and moisture sitting inside the receiver or blocking the microphone ports. Left alone, that buildup doesn’t just dull the sound — it can corrode internal components and shorten the lifespan of a device that likely cost you a fair amount of money. Good hearing aid hygiene isn’t optional maintenance; it’s the difference between a device that reaches its full expected lifespan and one that needs premature repairs or an early replacement.
Getting to Know the Parts of Your Hearing Aid
Before you touch anything with a brush, it helps to know what you’re actually cleaning:
- Microphone: picks up sound from around you
- Receiver/speaker: pushes that sound into your ear canal
- Wax guard or filter: a tiny barrier that stops earwax from reaching the receiver
- Shell or casing: the outer body that sits in or behind your ear
- Dome or earmold: the soft tip that actually sits in the ear canal
- Tubing: connects the device to the earmold on behind-the-ear models
- Battery door or charging contacts: powers the whole thing
Every one of these collects grime in its own way, which is why a proper hearing aid cleaning routine treats each part separately instead of just wiping the outside and calling it done.
How to Clean a Hearing Aid at Home: Step-by-Step
Quick answer: Turn the device off, wipe it down with a dry cloth, brush away visible debris while holding it upside down, check the ports, and let it air-dry before storing — every night, without exception.
This is the core daily routine — the answer to “how do I clean my hearing aid at home” that applies to almost every style of device.
What you’ll need: a soft-bristle brush, a clean dry cloth (microfiber if you have it), a wax pick or loop, and good lighting. That’s really it for daily care.
- Wash and dry your hands first. Oils and lotion transfer straight onto the shell otherwise.
- Turn the hearing aid off (or remove the battery, if you use disposable batteries) before you start cleaning.
- Take the hearing aid out gently and place it on a soft surface — a folded towel works fine — so a drop doesn’t turn into a repair bill.
- Brush away visible debris. Hold the device upside down while brushing so loosened wax falls away from the openings instead of further inside.
- Wipe the outer shell with a dry cloth. If there’s stubborn residue, a very slightly damp cloth works — just don’t let moisture near any openings.
- Check the microphone ports for blockages. If sound still seems muffled after this, that’s your cue to look at the wax filter next.
- Let it air dry completely before putting it back in your ear or into a case.
Do this every night before bed, and you’ve covered probably 80% of what causes hearing aids to underperform.
How to Remove Earwax from Hearing Aids
Earwax is, without question, the number one enemy of hearing aid performance — and it’s also the part people are most nervous about cleaning.
Cleaning the wax filter/guard: Most modern hearing aids have a replaceable wax guard sitting right at the sound outlet. Using the tool that came in your kit (usually a tiny stick with a hook on one end), pull the old filter straight out and click a fresh one into place. No brushing, no picking — just swap it. Depending on how much wax you naturally produce, this might be needed anywhere from every two weeks to once a month.
Cleaning the receiver/speaker directly: If your device doesn’t use a replaceable filter, a wax loop or pick does the job. Insert it gently at an angle, hook out the wax, and pull it away from the device rather than pushing deeper. Never jab straight in — that’s the fastest way to damage the receiver diaphragm.
Safety note: Only clean what you can see, and never insert a tool past the point of resistance. These tools are for cleaning the device, not your ear canal — removing wax from inside the canal itself is your audiologist’s or doctor’s job, not a DIY task.
A quick warning: if sound suddenly sounds “weak” or distant right after cleaning, it’s often because a bit of wax got pushed further into the sound outlet instead of removed. Stop, and use the pick from a different angle rather than forcing it.
Cleaning Hearing Aids by Type
Not every hearing aid is built the same, so the exact process shifts a little depending on the style.
How to Clean Behind-the-Ear (BTE) Hearing Aids
BTE devices sit behind the ear with tubing running down to an earmold. Wipe the main body daily, and separately, detach the tubing and earmold every week or so. Wash the earmold — never the electronic body — in mild soapy water, then use an air blower to force out trapped moisture before letting it dry fully overnight. Tubing that’s gone stiff, cracked, or yellowed should be replaced; it’s cheap and it directly affects sound quality.
How to Clean In-the-Ear (ITE) Hearing Aids
ITE and the smaller in-canal styles sit fully inside the ear, meaning they take the brunt of earwax exposure. There’s no tubing to worry about, but the wax guard needs more frequent attention here. Brush the microphone cover and vents daily, use a wire loop for the vent opening if it feels blocked, and stick to a dry cloth on the shell — water and alcohol are both off-limits on these compact units since there’s so little room for moisture to escape once it’s in.
How to Clean Hearing Aid Tubing and Domes
For receiver-in-canal and BTE styles with a dome, wipe the dome daily with a dry cloth and replace it roughly every one to two months, sooner if it starts feeling stiff or discolored. Tubing gets a weekly “pipe cleaner” pass, and running an air blower through it afterward clears out any lingering moisture that would otherwise sit and breed odor or bacteria.
Essential Hearing Aid Cleaning Tools
A basic hearing aid cleaning kit covers almost everything you’ll ever need:
- Soft-bristle brush for loosening dust and surface wax
- Wax pick or loop tool for stubborn buildup near the receiver
- Vent cleaner — a thin flexible wire for clearing air vents
- Drying kit or dehumidifier box for overnight moisture removal
- Air blower to push moisture out of tubing and earmolds
- Alcohol-free cleaning wipes or spray, used specifically for hearing aids
Most manufacturers include a starter kit with new devices, but tools wear out or get lost, and replacements are widely available — including through kunshop.pk, which stocks hearing aid cleaning kits and accessories suited for daily use.
(Replace the link above with your actual product/category URL before publishing.)
👉 Shop hearing aid cleaning kits, wax filters, and dehumidifier cases → Browse hearing aid accessories on kunshop.pk
Can You Clean Hearing Aids With Alcohol? (What Not to Use)
Short answer: no.
- Rubbing alcohol, household disinfectant wipes, and hand sanitizer will strip the protective coating on the shell and can seep into seams meant to keep moisture out.
- Submerging the device in water, even briefly, is just as risky — “water resistant” is not the same as waterproof, and internal components corrode fast once moisture gets past the casing.
Stick to dry cloths for daily wiping and, if you want an actual disinfecting step, use a spray or wipe made specifically for hearing aids. They’re formulated to kill bacteria without touching the electronics.
How to Dry Hearing Aids and Protect Them From Moisture
This one matters more in Pakistan than almost anywhere else, given how humid cities like Karachi and Lahore get for a good chunk of the year.
Moisture is sneaky. It doesn’t always come from rain — sweat, humidity, and even the natural moisture inside your ear canal all add up over a day of wear. Left unchecked, it corrodes battery contacts and can short out the receiver entirely.
Signs of moisture damage include crackling or intermittent sound, sudden weak volume, or a hearing aid that simply won’t turn on some mornings despite a full charge the night before.
The fix: every night, place your hearing aids in a drying box or dehumidifier case rather than just a regular storage case. If you’re using disposable batteries, open the battery door before storing — this lets air circulate and dramatically cuts down on trapped moisture. During monsoon season or particularly humid stretches, this single habit prevents more damage than almost anything else on this list.
Hearing Aid Battery Care and Storage
For disposable zinc-air batteries, open the compartment door at night — it extends battery life and airs out the compartment. Swap batteries roughly weekly, or sooner if sound starts weakening. For rechargeable models, stick to the manufacturer’s charging schedule and avoid leaving them on the charger indefinitely once full, since overcharging shortens battery lifespan over time.
For storage, keep your hearing aids in a dry protective case during the day and your dehumidifying case overnight (as covered above). Avoid leaving them in a hot car, on a bathroom shelf, or anywhere near direct sunlight — heat is just as damaging to the internal electronics as moisture is.
How Often Should You Clean Your Hearing Aids?
A simple rhythm works better than an occasional deep clean. This is a commonly recommended schedule, though your audiologist may suggest a different one for your specific device:
- Daily: wipe the shell, brush away visible debris, check microphone ports
- Weekly: deeper clean of tubing and earmolds (for BTE styles), inspect the dome for wear
- Every 2–4 weeks: replace the wax guard or filter
- Every 1–2 months: replace domes if you use them
- Every 6–12 months (or as your audiologist/manufacturer recommends): get a professional cleaning and checkup
If you sweat heavily, live somewhere particularly humid, or naturally produce more earwax, lean toward the more frequent end of each of these.
Hearing Aid Maintenance Checklist
A quick reference you can actually stick to:
- Wipe outer casing every night before storage
- Brush microphone and receiver ports daily
- Store in a dehumidifier case overnight
- Open battery door for disposable batteries at night
- Replace wax guard every 2–4 weeks
- Replace dome every 1–2 months
- Check tubing for stiffness or discoloration weekly (BTE only)
- Book a professional cleaning twice a year
Hearing Aid Care Tips for Humid Weather in Pakistan
Pakistan’s climate throws a genuinely different challenge at hearing aid users compared to drier regions. Between the summer heat, monsoon humidity, and heavy sweating that comes with both, moisture control needs to be a bigger priority here than the average cleaning guide suggests.
A few adjustments worth making during peak humidity months: use a dehumidifier box every single night without exception, wipe devices mid-day if you’ve been outdoors or sweating, and avoid removing your hearing aids right before stepping into an air-conditioned room from outside heat — the sudden temperature and humidity shift can cause condensation inside the device itself.
If you’re shopping for a drying kit, dehumidifier case, or replacement wax filters, kunshop.pk carries hearing aid accessories built for these humidity conditions, which makes finding the right maintenance tools a lot easier than hunting through general electronics stores.
When to See a Professional
Home cleaning covers daily wear and tear, but it has limits. If sound stays muffled or distorted after a thorough at-home clean, if you’re hearing intermittent static or feedback, or if wax has genuinely blocked an opening you can’t safely reach, it’s time to book a professional cleaning rather than pushing a pick further in. Most clinics also do a full internal check during these visits — catching small issues before they become expensive ones.
And if your current hearing aid is approaching the end of its device’s rated lifespan (check your specific model’s documentation — this varies by brand) and repairs are becoming frequent, it might be worth browsing newer options. kunshop.pk lists a range of hearing aids available in Pakistan at different price points if an upgrade ends up making more financial sense than another repair.
Frequently Asked Questions
How do you clean a hearing aid speaker?
Use a wax pick or loop at a gentle angle to hook out visible wax, pulling it away from the device rather than pushing inward. Replace the wax guard regularly instead of relying only on manual cleaning.
How do you clean hearing aid ear tips?
Wipe domes and ear tips daily with a soft, dry cloth. Soft silicone domes should be replaced every one to two months; earmolds can be washed separately in mild soapy water, away from the electronic body.
When should hearing aid filters be replaced?
Roughly every two to four weeks under normal use, or sooner if sound starts to feel muffled or weak.
How can I make my hearing aids last longer?
Stick to a daily cleaning habit, keep them dry overnight in a dehumidifier case, avoid alcohol-based cleaners, and get a professional service every six to twelve months.
Can I use a hairdryer to dry my hearing aid?
No. Direct heat can damage the shell and internal components. Stick to air-drying at room temperature or a dedicated dehumidifier/drying box overnight.
Final Thoughts
None of this requires special skill — just consistency. A couple of minutes with a brush and a dry cloth every night, a fresh wax filter every few weeks, and a dehumidifier case for overnight storage will do more for your hearing aid’s lifespan than any single “deep clean” ever could. Treat it like brushing your teeth: small, daily, unglamorous, and genuinely effective over time.
If you need cleaning kits, replacement filters, dehumidifier cases, or you’re simply due for a new device, browse the hearing aid accessories and hearing aids available at kunshop.pk to keep your setup running the way it should.